AVMScript Installation Guide
This guide will walk you through the complete installation process of AVMScript, from downloading the script to setting up your database and running scheduled tasks.
Step 1: Download the Script
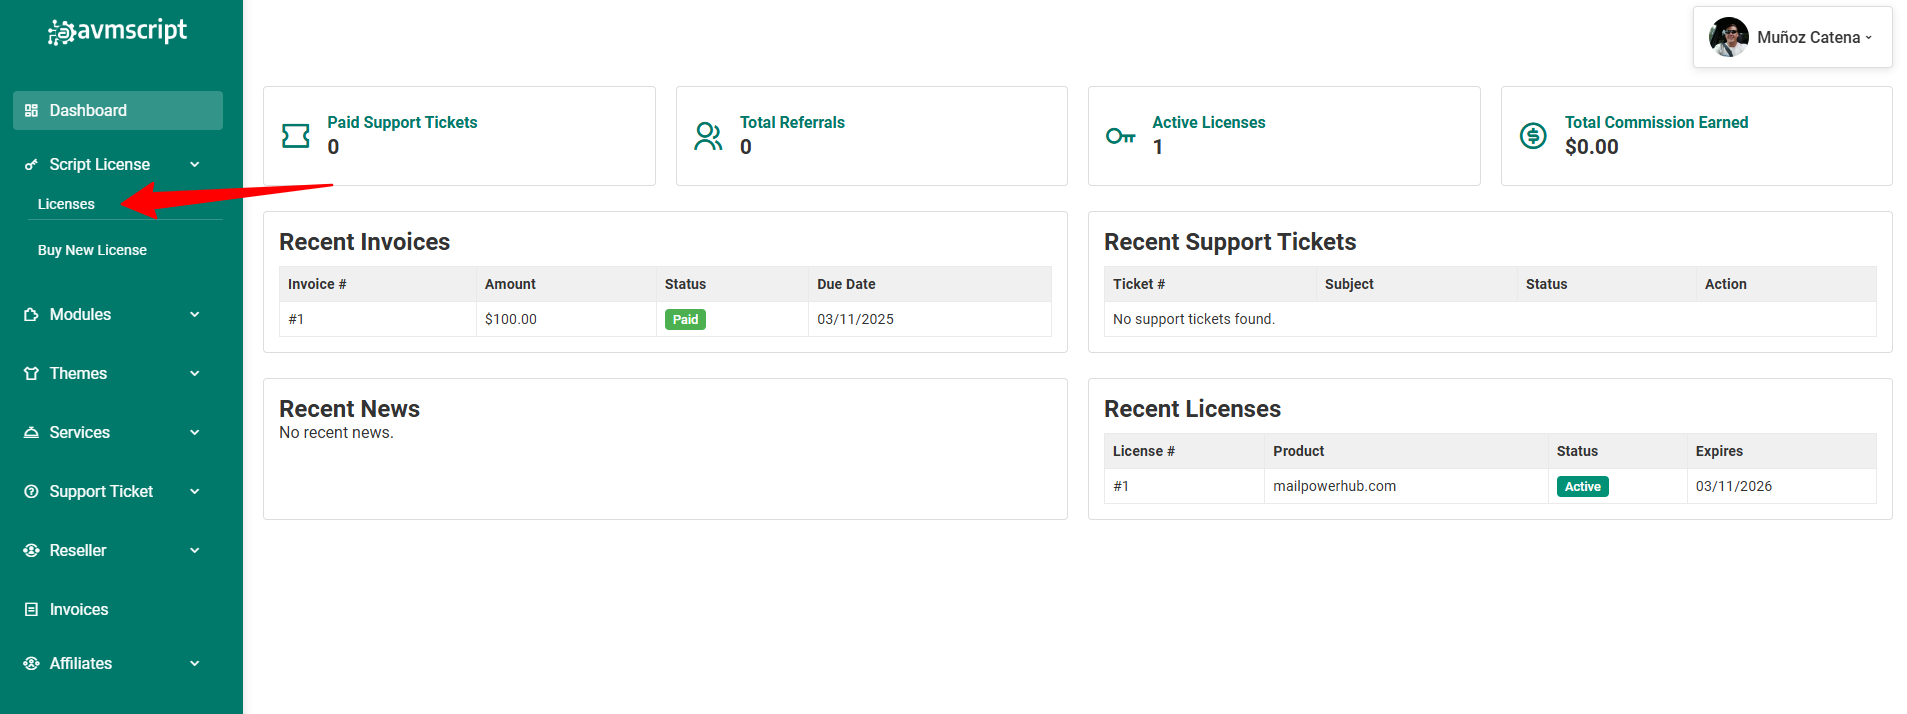
- Log in to our billing area.
- Navigate to the License Page.
- Click on Download Full to get the script ZIP file.
- Extract the ZIP file; it contains a README file and a folder with the actual script files.
Step 2: Upload the Script Files
- Use an FTP client (such as FileZilla) or cPanel’s File Manager.
- Navigate to your website’s root directory (public_html).
- Upload all the contents of the script folder (not the folder itself, just its contents).
Step 3: Start the Installation
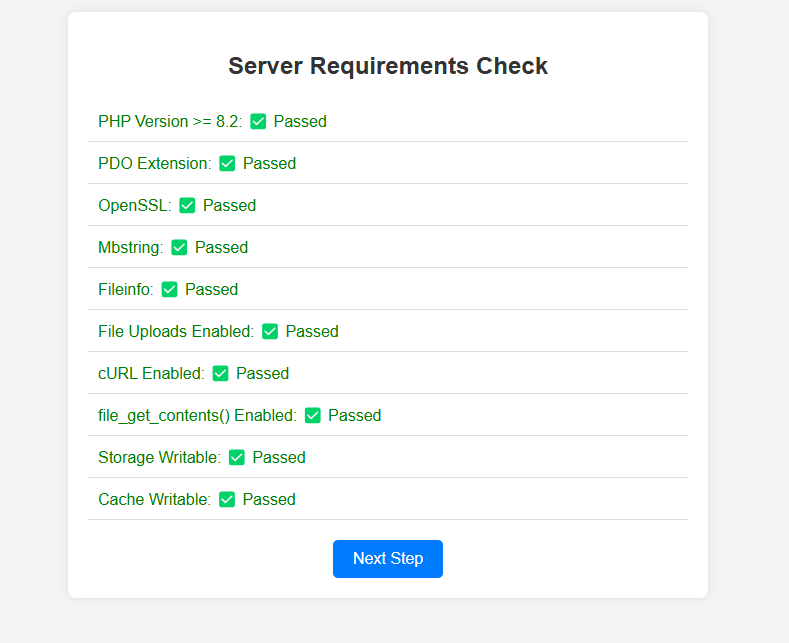
- Open your browser and go to:
https://yourdomain.com/install- The system will first check if your server meets the system requirements.
- Click the Next button to proceed.
Step 4: Enter License Information
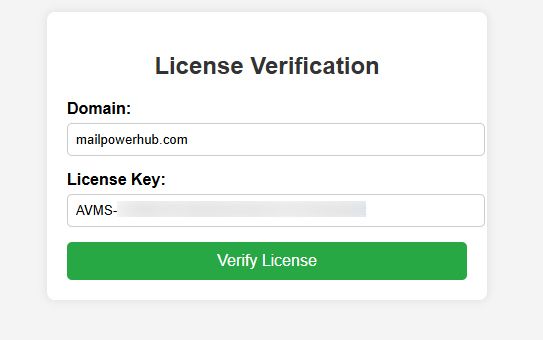
- The installer will ask for your Domain and License Key.
- Enter the correct details and proceed.
Step 5: Configure Database Settings
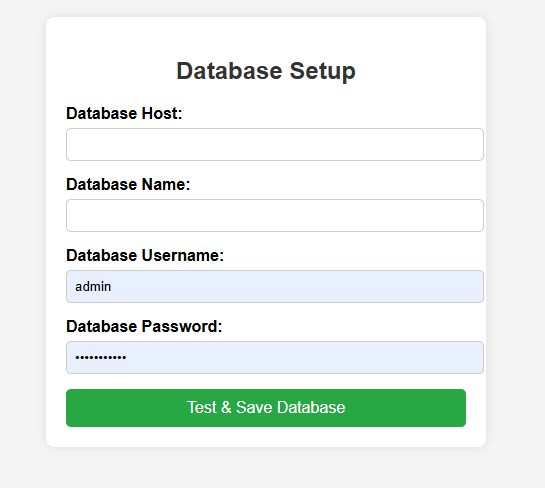
- Ensure you have an empty database and a database user with proper credentials.
- In the database setup step, enter:
- Host (Usually
localhost) - Database Name
- Database Username
- Database Password
- Click Next to proceed.
- ⚠ Make sure these details are correct. Incorrect details will cause a 500 error!
Step 6: Create an Admin Account
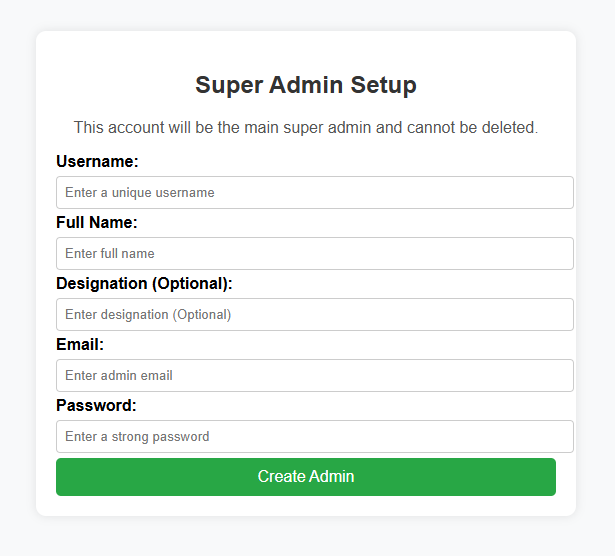
- Enter the required details for the admin account
- Click Submit.
Step 7: Complete Installation
- After submitting the admin details, you will see a Setup Complete success page with Cron Jobs details.
- Your AVMScript installation is now finished!
Step 8: Set Up Cron Job
To ensure scheduled tasks run properly, you must set up a cron job to run every 5 minutes.
How to Set Up the Cron Job
- Log in to cPanel and navigate to Cron Jobs.
- Add the following command to run every 5 minutes:
/bin/php /home/yourdomain/public_html/artisan schedule:run >> /dev/null 2>&1
3.Modify the command according to your hosting account.
4.Click Add Cron Job.
Troubleshooting
- If you get a 500 Server Error after entering database details, refer to our fix guide.
- Make sure your server meets all system requirements before installing.
- Ensure your database credentials are correct.
1
0