Configuring Stripe Payment System on AVMScript
1. Access Your Stripe Account
- Log in to Stripe:
- Sign in to your Stripe account.
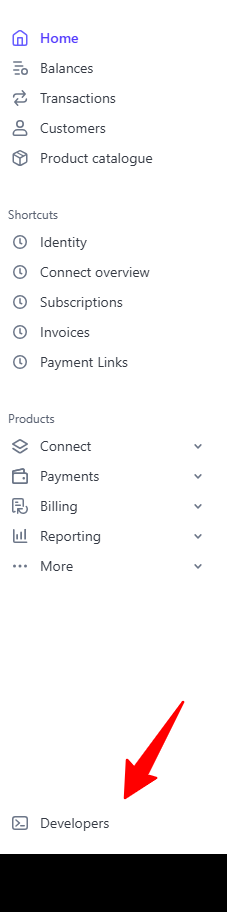
- Navigate to Developers:
- In the dashboard, click on Developers.
- Access API Keys:
- Go to API Keys to view your current keys.
2. Obtaining Your Keys
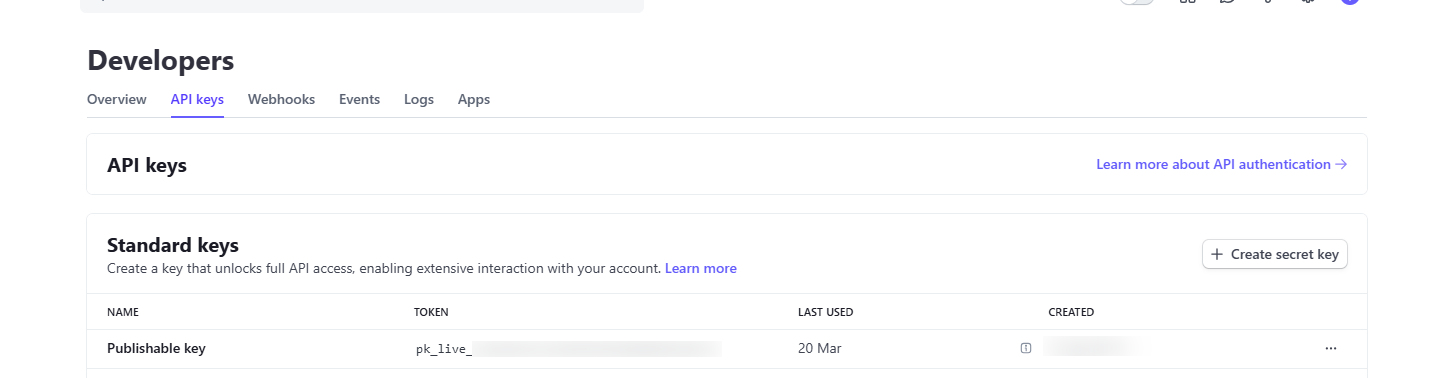
Public Key:
- Location:
- Your Public Key is displayed directly on the API Keys page.
- Usage:
- This key is used on the client side for generating payment tokens and must have the required permissions.
Secret Key:

- Creating the Secret Key:
If you don’t already have a Secret Key:
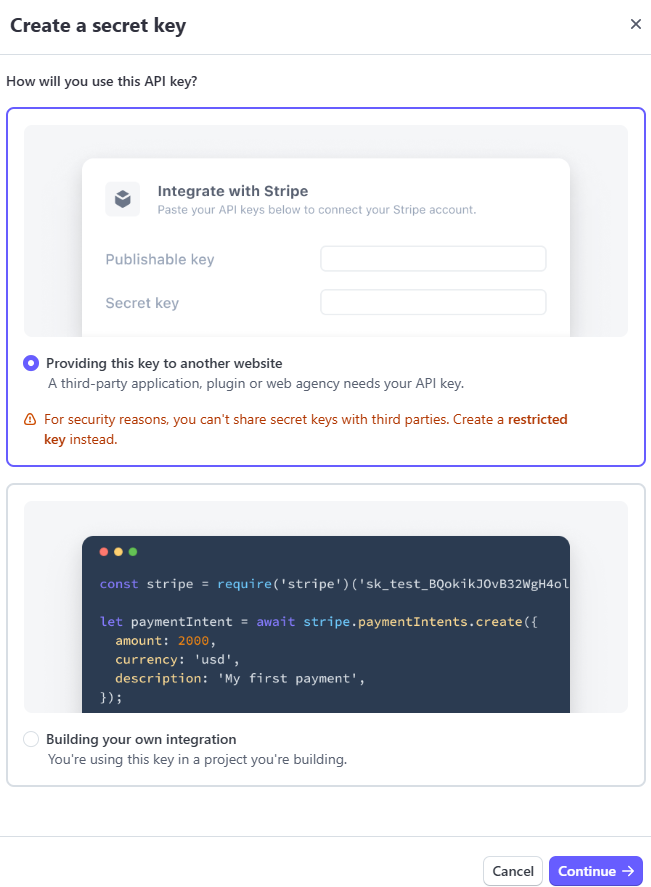
- Initiate Creation:
- Click on Secret Key to start the creation process.
- Select the Option:
- Choose the option Providing this key to another website.
- This triggers a security test by Stripe to verify that you are the account owner.
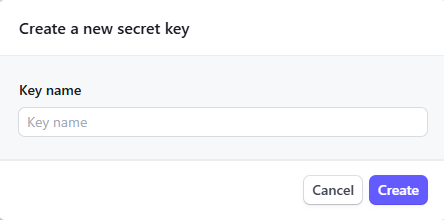
- Name Your Key:
- After the security test is completed, you will be prompted to create a name for your Secret Key. Once named, your Secret Key will be generated.
- Usage:
- The Secret Key is used on the server side for processing payments and must remain confidential.
Webhook Key:


- Creating the Webhook Endpoint:
- Copy the Webhook URL:
- Retrieve the Webhook URL provided by our script.
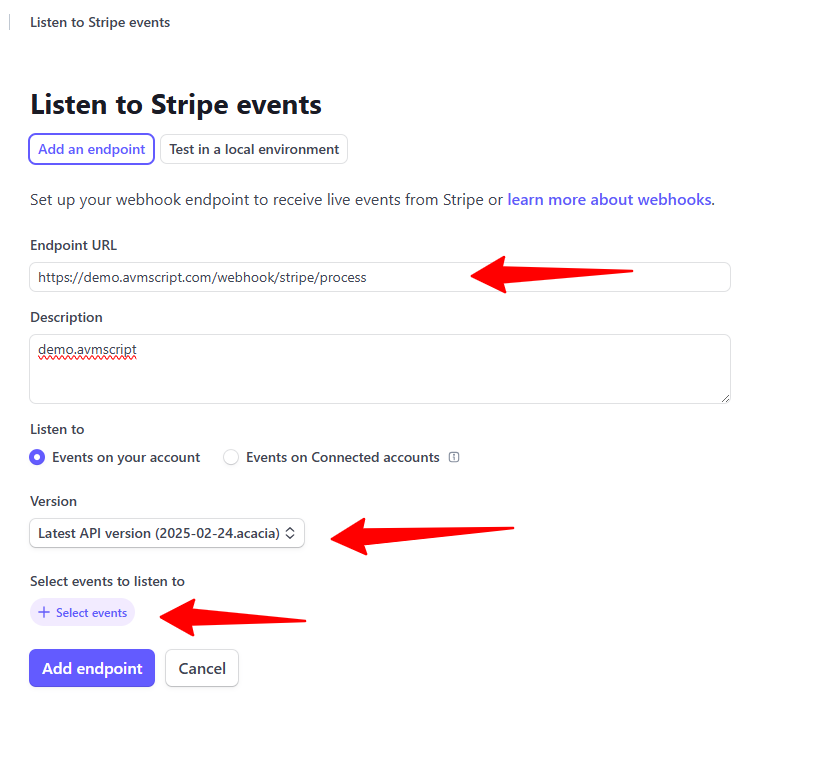
- Set Up in Stripe:
- In your Stripe dashboard, go to Webhook Endpoints and add a new endpoint.
- Enter the URL:
- In the Endpoint URL field, paste the Webhook URL.
- Select Events:
- Choose all events (or only those relevant) to ensure proper notifications.
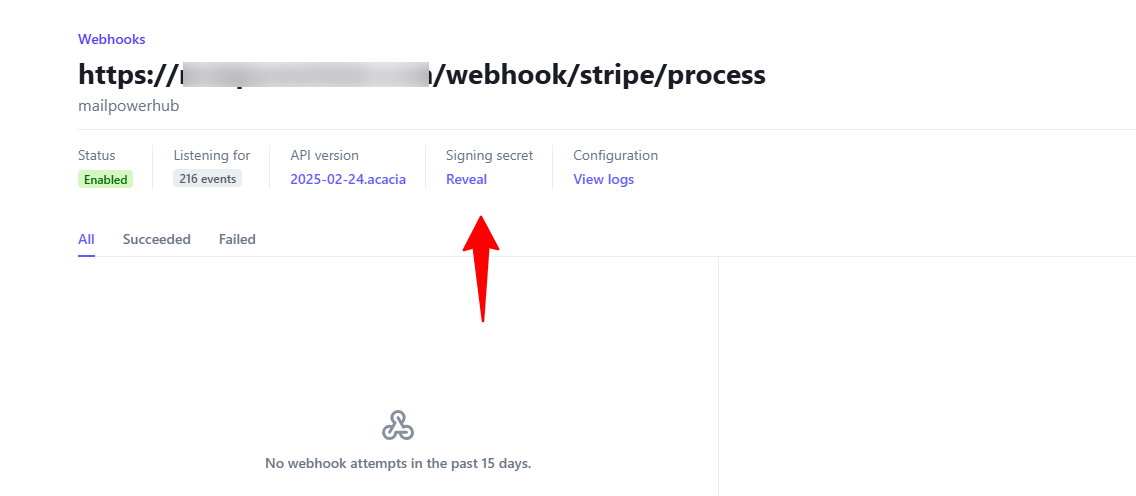
- Obtain the Webhook Key:
- Once the webhook is created, go to Signing Secret to view and copy your Webhook Key.
- Usage:
- This key is used to verify the authenticity of incoming webhook requests from Stripe to our website.
3. Entering Your Stripe Data in the Admin Panel
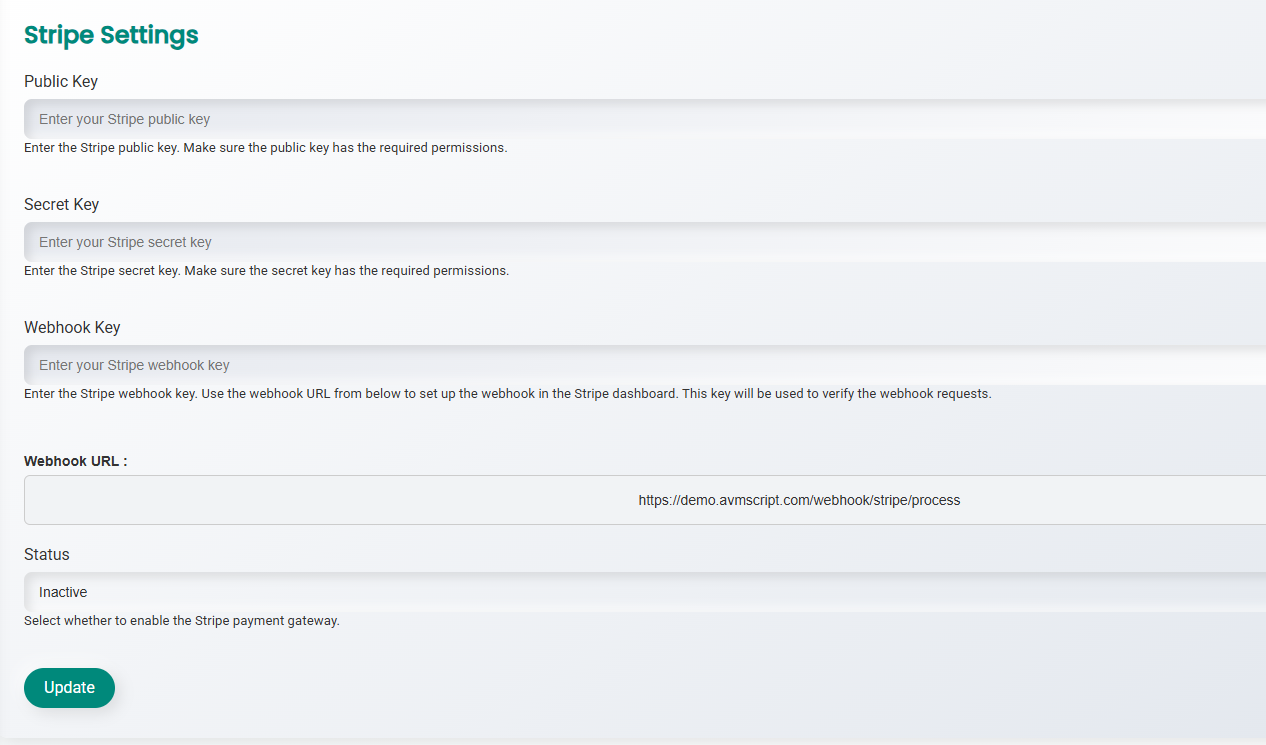
With the keys obtained from Stripe, proceed to the configuration section in our website’s admin panel:
- Public Key:
- Paste your Public Key as provided by Stripe.
- Secret Key:
- Enter the Secret Key you created, ensuring it has the appropriate permissions.
- Webhook Key:
- Insert the Webhook Key from your Stripe configuration.
- Webhook URL:
- Confirm that the Webhook URL displayed in the admin panel matches the one you added in Stripe.
4. Confirmation and Testing
- Verify Permissions:
- Ensure that all keys (public and secret) have the required permissions for the operations you need.
- Monitor Activity:
- Regularly check the event logs and notifications in both Stripe and your admin panel to confirm that the webhook is functioning as expected.
5. Best Practices
- Security:
- Keep all Stripe keys secure and never expose them outside the admin environment.
- Regularly review the permissions for each key and regenerate them if necessary.
- Configuration Updates:
- If any changes are made to your Stripe account (such as updating permissions or modifying the webhook URL), update the configuration in the admin panel immediately.
- Documentation:
- Refer to the official Stripe documentation for additional details and the latest updates.
2
0